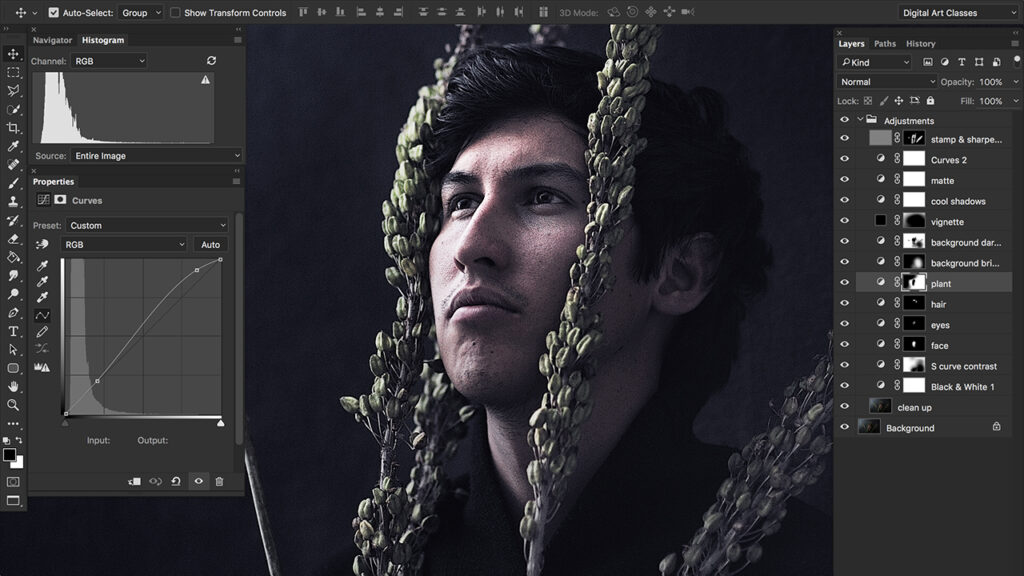
Adobe Express (formerly Adobe Spark) is a powerful, user-friendly tool designed to create and edit stunning visual content. Here’s a step-by-step guide to professionally edit a photo using Adobe Express’s image editing tool.
1. Getting Started
Access Adobe Express:
- Visit the Adobe Express website and sign in or create an account.
Upload Your Photo:
- Click on the “+” icon to start a new project.
- Choose “Photo” and upload the image you want to edit from your device.
2. Basic Edits
Crop and Resize:
- Select the “Crop & Resize” tool from the right-hand menu.
- Choose from predefined aspect ratios or enter custom dimensions.
- Drag the corners of the crop box to adjust the area manually.
Rotate and Flip:
- Use the “Rotate” tool to straighten your image or flip it horizontally or vertically.
3. Enhancements
Auto Enhance:
- Click on the “Enhance” button to let Adobe Express automatically adjust the brightness, contrast, and other settings for optimal results.
Manual Adjustments:
- Fine-tune your image using the “Adjustments” panel.
- Slide the bars to modify brightness, contrast, saturation, warmth, and more.
4. Advanced Edits
Filters:
- Explore the “Filters” tab to apply various artistic effects to your photo.
- Choose from a wide range of presets or create your own custom filter.
Spot Healing:
- Use the “Remove Background” or “Spot Healing” tools to eliminate unwanted elements or blemishes from your photo.
5. Adding Text and Graphics
Text Overlay:
- Click on the “Text” tab to add text to your image.
- Choose from a variety of fonts, sizes, and colors to match your design aesthetic.
- Adjust the text position and alignment for a polished look.
Graphics and Icons:
- Navigate to the “Graphics” tab to add icons, shapes, or other design elements.
- Customize the color, size, and opacity of these graphics to complement your photo.
6. Final Touches
Watermark:
- Add a watermark to protect your work by selecting the “Watermark” option and uploading your logo or text.
Frames and Borders:
- Enhance your photo with frames or borders from the “Frames” tab.
- Choose from various styles and colors to give your image a finished look.
7. Saving and Sharing
Save Your Work:
- Once you’re satisfied with your edits, click on the “Download” button to save your photo in various formats (JPEG, PNG, etc.).
Share Directly:
- Use the “Share” button to post your edited photo directly to social media platforms or send it via email.
8. Tips for Professional Results
- Consistency: Maintain a consistent editing style for a cohesive portfolio.
- Less is More: Avoid over-editing; subtle enhancements often yield the best results.
- Backup: Always keep a backup of your original photo in case you need to revert changes.
Conclusion
Adobe Express offers a comprehensive suite of tools for professional photo editing, making it accessible for both beginners and experienced users. By following these steps, you can transform your photos into polished, high-quality visuals that stand out. Whether you’re editing for personal use or professional projects, Adobe Express provides the flexibility and power to achieve stunning results.


